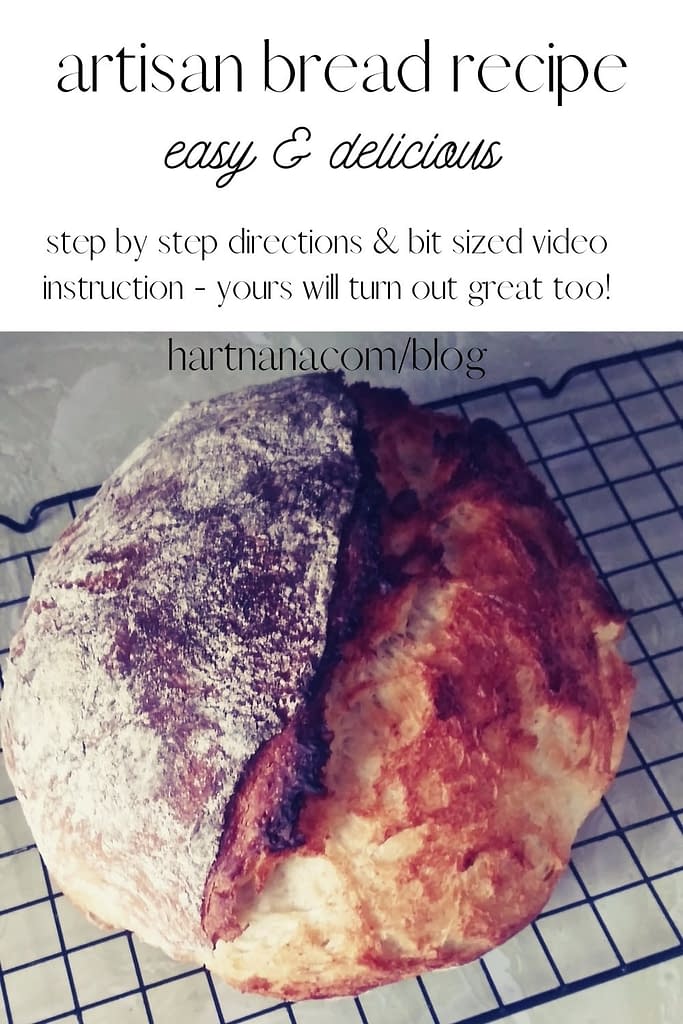
This artisan bread recipe requires only a few ingredients that go together quickly, yet produce the most amazing and delicious bread. The crust is crisp n chewy, while the crumb is soft, creamy and a bit sweet.
If you start this the night before and put it in the fridge to proof slowly, you can have warm bread for dinner. When I had lots of kids around I would make this in large batches that I kept in the fridge then baked as needed. But now we do single batches that last us most of the week.
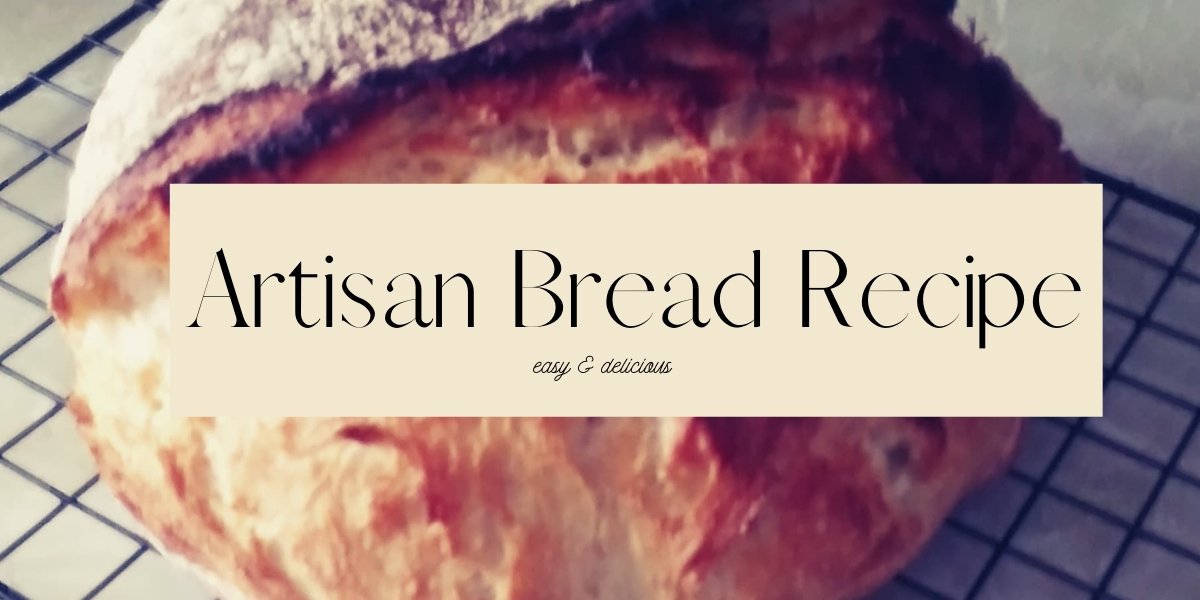
Artisan Bread Recipe
The ingredients
- 3 cups of all purpose flour
- 1 tbs instant yeast (this is the kind you don’t have to proof)
- 1 tsp salt
- 1/3 cup honey
- 2 tbs olive oil
- 1 1/2 – 2 cups very warm filtered water (I usually put the kettle on to boil, pour off 1 cup and make up the difference with room temperature water)
Putting it together
Mix the yeast and salt into the flour. I like to use this handy dandy Danish dough whisk for this part of the process. Then add the honey and olive oil to the hot water and give it a stir to get the honey to incorporate. Mix that into the flour. Stir the flour as you pour and don’t dump it all in at one time. You want a moist, shaggy dough. By shaggy I mean it is all the flour particles are wet and the dough has started to stick together.
At this point you can either stick it in the fridge till the next day or you can prepare it for baking.
Preparing for baking
Once the dough is back to room temperature if you have left it in the fridge, or after letting it rest for thirty minutes, you can start the stretching and folding process. This is how that is done:
Do this every 15 minutes for an hour. Wet your hands to keep the dough from sticking.
During this hour of stretching and folding you should be heating up your dutch oven in your oven to about 500 degrees (or as high as your oven will go if it won’t reach 500).
After the stretching and folding process, shape your loaf.
This video shows how to shape your dough. When I make this artisan bread recipe, I shape it, let it rest, then shape again and put it on parchment paper not in the basket. Though I have baskets, and do sometimes make sourdough artisan bread in them, with this every day bread recipe, I stick with easy, no fuss methods.
I let the bread rise for about 10 minutes after the second shaping, then I score the dough and put it in the dutch oven. The parchment paper serves as a carrying device too. When I bake the parchment paper comes out the sides of the dutch oven when the lid is on. That’s okay.
Once the dough is in the oven I turn the temperature down to 425 degrees F and wait 15 minutes. After 15 minutes I take the lid off and let it bake another 30 minutes. Start checking at the 25 minute mark to make sure you don’t burn the bread. It should sound hollow when you tap on it.
Take the bread out of the oven and put it on a wire rack to cool. Let it rest for a couple hours. If you cut it too soon it will make the crumb mushy. And no likes mushy crumb right? Don’t forget to take pictures and post them on Pinterest!